Step 1: Create a new list.
After logging into Facebook, start by going to the profile page of someone you would like to add to a list. Click on the Friends button, then select "Add to list..."
Scroll down and select "+New List..."
Type the name of your list and press Enter to save.
*Note: According to Facebook, these lists are not public and notice will not be sent out that you added someone to a list. However, just in case this changes in the future, be mindful of what you're naming your lists!
Step 2: Mass edit your list.
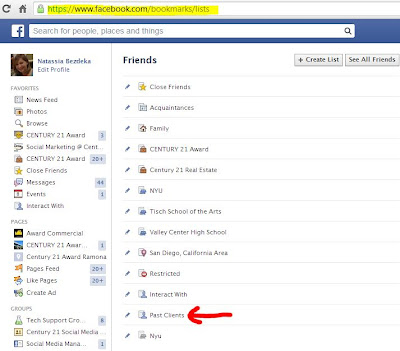
You could go to each individual person and add them to your new list following the steps above (selecting the list name instead of creating a new list), however the easiest way to add additional people to your new list is by going to your Lists Homepage (https://www.facebook.com/bookmarks/lists)
Click on the name of the list you just created:
 |
| You can also create lists from this page. |
Then click Manage List > Edit List in the upper right hand corner:
Then click On List List > Friends to see your whole friends list:
Simply click on the friends you would like to add to this particular list. A check (like Albert Bui) means they're on the list; no check (like Allison Brekke) means they are not on the list. Click finish when you are done.
You can edit your list as often as you like.
Step 3: View your list in the Newsfeed.
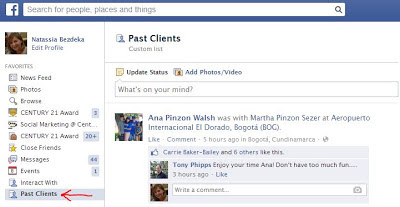
To make your list easily accessible, locate it in the left sidebar under Friends - you may have to scroll down a bit. Click on the Edit Pencil and select "Add to Favorites":
You will now see the list under Favorites in the left sidebar. Simply click on it to see updates only from the people you've added to your list:


